#Instagood: My Top 5 Tips on Taking Better Photos with Your Smartphone
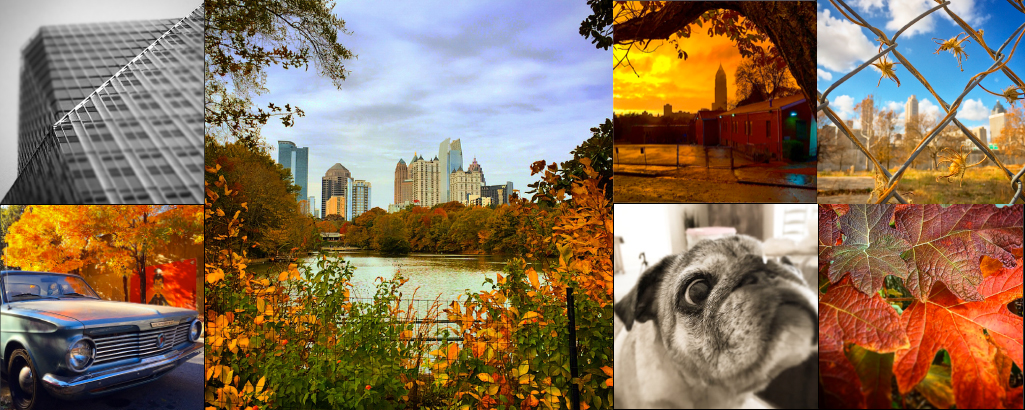
So I get a lot of feedback on social media (and sometimes even in person, lol), that some of you out there really dig the perspective, coloring and ambiance of my images. So I thought what better way to spread the joy this holiday season, than to share a little of my own personal recipe for success when it comes to taking & editing your images for Instagram. If you have a smartphone and an Instagram account, I’ll give you a good road map for making your sharable moments a little #instabetter.
First, in order to become #instagood (before you can get #instabetter) you need to start by taking a decent picture – all the editing in the world won’t save a terrible image.
Here are my top 5 tips for taking good images (we’ll get to editing next week in Part 2).
Tip #1: HDR, baby.
If you have a modern smart phone, you probably have an option for HDR and I highly recommend that you use it. Now, this feature isn’t necessarily a true HDR, but more of an auto-correct for poor or challenging lighting situations. Ever notice how you end up with really bright, blown-out highlights in direct sunlight or bright light? And what about that murky, grainy, black, fuzzy haze coving your images in low or ambient light? HDR will help mitigate the extremes of each of these scenarios. I’m not sure about Andriod models, but if you have an iPhone, don’t worry because you will get a regular exposure in addition to your HDR exposure. That way, you can choose the HDR or discard it. Use whichever image looks best.
Tip #2: Stand still, dammit!
I mean it, please steady yourselves people! The biggest wet blanket I see across the sea of images that cover the interwebs is “shake” or blurry images as the result of moving while the shutter is open. Practice eliminating “shake” by being as still as possible and planting your elbows firmly against your core. If you can use a table or counter surface to rest your elbows, this helps a lot too. If you have a mini tripod, great, but if you don’t, be extremely mindful of your balance and weight distribution. Use both hands and be perfectly still for 1-2 seconds *BEFORE AND AFTER* you hit the shutter button on your camera/phone. Trust me, those few seconds pause will change your Instagram feed forever moving forward.
Tip #3: Get high, get low, get creative.
I could write a whole article on this topic alone, but in the interest of keeping this short & sweet, I would just like to encourage you to push yourself to look at things differently. Experiment with angles, lighting, shapes, depth of field, perspective, color, etc. A lot of images look the same because a lot of people take photos from their eye-level, looking directly at what’s in front of them. Change the perspective, move around, look up, look down, look through trees, fences, holes, puddles, reflections, etc. Don’t be afraid to lay on the ground, get a little dirty or disheveled, or risk the possibility that someone might think you’re weird for contorting your body into whatever position necessary to frame the perfect shot. Just don’t step in front of moving traffic, lean too far off the observation deck of a tall building or get too close to a mama bear and her cubs(!) 😉
Tip #4: Stay away from filter “presets”.
Back in the day (like a year ago), preset filters were all we really had in Instagram, and for a while it was all the rage. But now, with the newer “Custom settings” menu, you can achieve a more professional looking result right in Instagram without putting a “generic filter” stamp all over your images (RIP Kelvin Brannan, 1977, Nashville).
Tip # 5: Crop & Straighten.
Use the grid (in-camera and/or in Instagram) and make sure your horizon is straight and that from the center of your image, vertical lines are straight as well. Unless you’re going for a really exaggerated, intentional planar shift as a way of making a “creative statement”, uneven lines and leaning horizons is down-right nauseating. Clean up your act, and get on the plane, Jane (nod to geometry).
Now that you have an image that’s in focus, properly exposed and thoughtfully composed, this is the jumping off point where you can really make your images soar. I’ll tell you how next week in #Instabetter: Custom Settings = Creative Control.
I hope you found this article helpful (or at least mildly entertaining). If you’ve made it this far, come a step further and follow me (graphiknation) on Instagram, Flickr or Twitter. Or if you’re in the Atlanta area, come shoot with me and the Atlanta Urban Photo Walkers sometime!
GEAR:
I currently have an Apple iPhone 6 Plus, and in the past I have had iPhones 3, 4 & 5, all of which have shown up on my Instagram feed. When I shoot professional I use Mirrorless/Micro Four Thirds format. I own a Panasonic Lumix G3, an Olympus Pen EP5, and I more recently purchased an even smaller Panasonic Lumix GM1, for times when I want to go really light weight. I have about 7 high quality micro 4/3 lenses, mostly Lumix/Panasonic brand, and one Olympus brand. I edit professionally in Adobe Lightroom & Adobe Photoshop. Some of my professional images show up in my Instagram feed, but many more of them can be seen on Flickr.

